Posted by : Ammar Hakim
Friday, August 22, 2014
Instruction
1. The paper pattern
Print the paper pattern on the paper of A4 size.
Cut the printed paper into four sheets.
 2. Preparation to cut
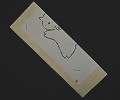
The cardboard for the animal is made a fold lengthwise.
The paper pattern is folded from center line, too.
The paper pattern is put on the cardboard, and 2-3 places are fixed with the stapler.
3. Fold line
Trace with a ball-point pen from over of the paper pattern, and a fold line is given.
Trace with both sides of the right and left as well.
4. Eyes and nostrils
The hole of the eyes are made.
A hole is made with a punch, or it is clipped by using the cutter.
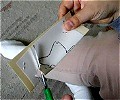
 5. Cut
Cut The shape of the animal.
First, clip the part of the jaw with the scissors.
The line of the head-tail cuts either from the one which is easy to cut by you.
Don't care even if it deviates a little.
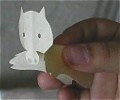
 6. Fold
The part of the animal's face is folded in the back and the one for the opposition.
"The overlap width" of a foot to put on the mount is folded, too.
7. Mount
The animal is pasted on the mount with adhesive.
The mount paper is folded at the side.
The position where an animal doesn't protrude is ascertained when it tried to leave an animal in the mount and a mount was folded.
A leg is put first, and the fold line of the mount is made to pile up with the line on the back viewed from the top, and one of the feet has already been put, too.
8. Message paper
The size of the message paper which the animal has is about 2.0-2.5 * 4.0-4.5cm.
Make a slit in the paper about 2mm, and put with the slit of the animal's hand.
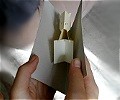
 9. Completed
It is completed.
The card which the animal who has a card from the card jumps into.
Could it be done well?
(Attention!)
WOODPECKER STUDIO possesses the copyright of the design of the animal card and the paper pattern.


 2. Preparation to cut
  5. Cut
 6. Fold
 9. Completed


